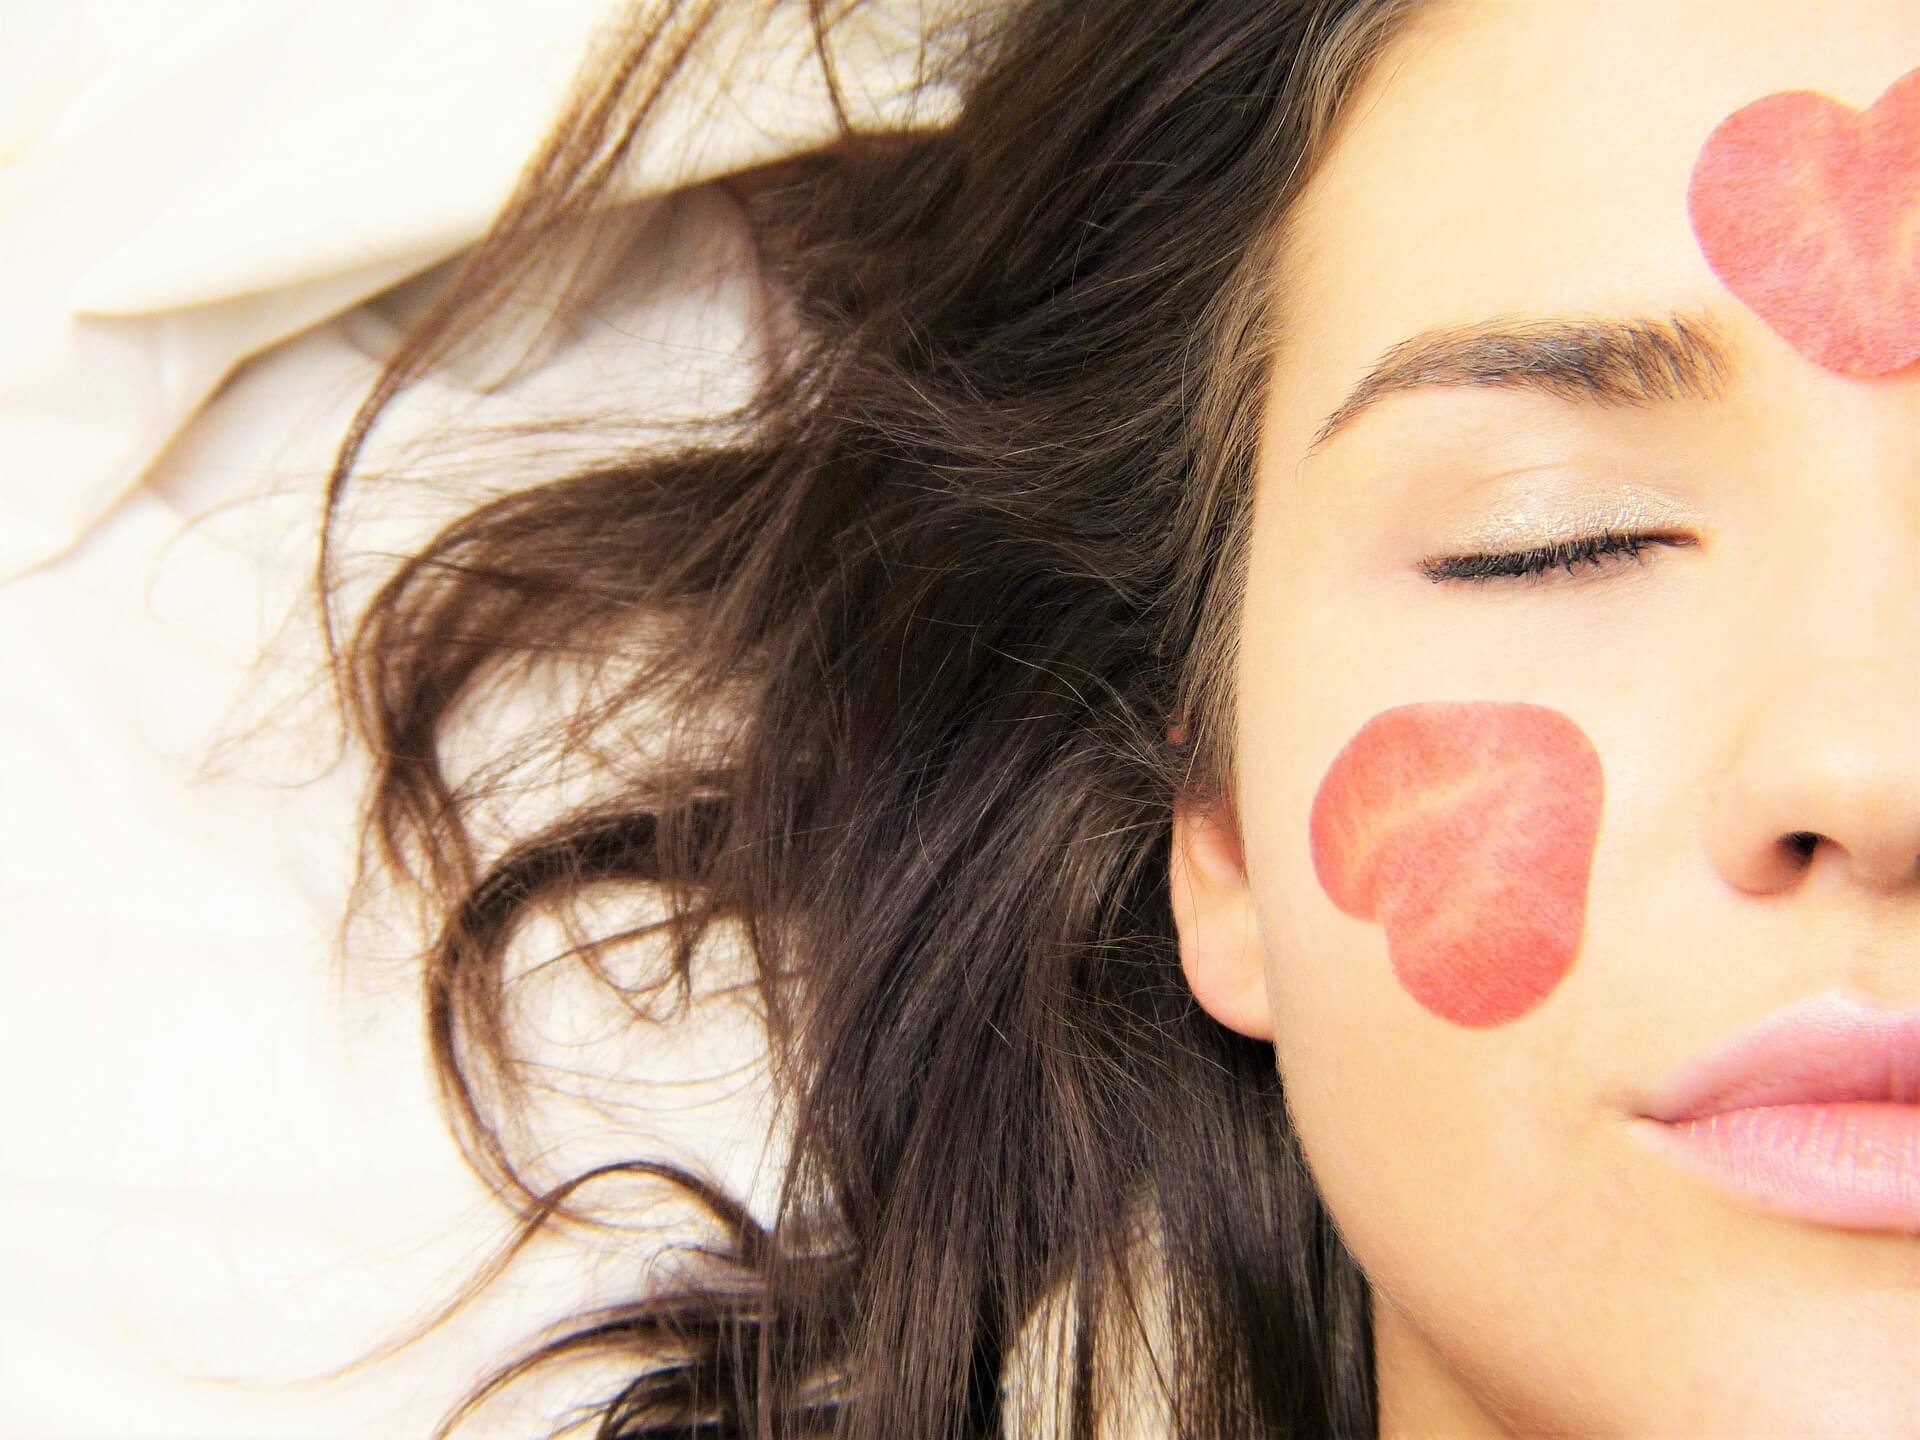
The Art of the Watercolor Blush: Achieving That Effortless Gradient Glow in 2026
Ever caught a glimpse of someone with that utterly ethereal flush, a blush that looks less like makeup and more like they just stepped in from a brisk walk through a summer garden? It’s not a streak, it’s not a blotch, it’s a whisper of color that seamlessly melts into their skin, often with a subtle shift in intensity. This, my friends, is the magic of watercolor blush with a gradient effect, and it’s the beauty secret you didn't know you needed in your life for 2026.
Forget the days of harsh lines or blush that sits stubbornly on top of your foundation. We're talking about a technique that mimics the delicate layers of a watercolor painting, sheer, buildable, and utterly translucent. If you’ve ever admired a painting where colors blend imperceptibly from one shade to another, you’re already halfway to understanding the aesthetic we’re chasing. This isn't just about applying a product; it’s about creating an illusion of natural radiance that appears to come from within. Ready to unlock this glow-up? You’re in the right place.
What Exactly Is Watercolor Blush with a Gradient Effect?
At its core, the watercolor blush technique involves using liquid or cream blush formulas to create a soft, diffused wash of color on the cheeks. The "gradient effect" elevates this by introducing a subtle transition in color intensity or even hue across the cheekbone area. Think of it like this: instead of a single, uniform pop of color, you’re creating a dimension, a gentle fading from a more saturated point to a softer edge, or even a blend of two complementary shades.
Why does it matter? Well, for starters, it’s incredibly flattering. It softens the features, adds a youthful vitality, and makes your skin look genuinely healthy rather than just "made up." This technique is particularly beloved for its ability to look incredibly natural, almost like your skin is blushing naturally, but on command. It’s the antithesis of the heavily contoured or overtly sculpted look, embracing a softer, more organic aesthetic that feels perfectly suited for 2026’s focus on effortless elegance.
The Essentials: Tools and Products for Your Masterpiece
Before we dive into the how-to, let's gather our supplies. You don't need a professional artist's palette, but a few key items will make all the difference.
- Liquid or Cream Blushes: This is non-negotiable. Powder blushes, while lovely for other techniques, don't lend themselves to the sheer, melt-into-the-skin effect we're aiming for. Look for formulas that are buildable and offer a translucent finish. Think serums, tints, or soft creams.
- A Damp Beauty Sponge or Stippling Brush: These are your primary blending tools. A damp sponge (like a Beautyblender) will help press the product into the skin for that seamless finish, while a stippling brush will allow for gentle, diffused application.
- A Setting Spray: To lock in that gorgeous glow and help everything meld together.
- Optional: A Highlighter (Liquid or Cream): For an extra dimension, especially if you want to emphasize the high points of your cheekbones.
When selecting your blush shades, consider your skin tone. Pinks and peaches are universally flattering, but deeper berry or terracotta tones can be stunning on warmer or deeper complexions. If you’re attempting a true gradient with two colors, choose shades that are close in tone but vary slightly in depth, perhaps a soft coral blending into a rosy pink.
The Step-by-Step Guide to Gradient Watercolor Blush
Here’s where the magic happens. Don't be intimidated; it’s easier than it looks, I promise!
Step 1: Prep Your Canvas
Start with a well-prepped base. Your foundation (or tinted moisturizer, or bare skin, whatever your preference) should be applied and blended. Make sure your skin is hydrated and any other base products have settled. This technique works best on skin that isn't overly powdered, as powder can sometimes create a barrier that prevents liquid products from truly fusing.
Step 2: Initial Blush Application, The Heart of the Color
Take your first liquid or cream blush. If you're using a single color, apply a tiny dot or two directly onto the apples of your cheeks, that plump part that rounds out when you smile. If you're going for a two-tone gradient, apply your deeper or more vibrant shade here. Remember, liquid and cream blushes are potent; a little goes a very long way. You can always add more, but taking away is tricky.
Step 3: Blend, Blend, Blend!
Immediately, before the product sets, grab your damp beauty sponge or stippling brush. Begin to gently tap and press the blush outwards from the apple of your cheek, blending towards your temples and hairline. The key here is tapping, not rubbing. Tapping helps melt the product into your skin, creating that watercolor diffusion. You want the most intense color to remain on the apples, gradually softening as it extends outwards.
, If using a two-tone approach, now you'll introduce your second, lighter shade. Apply a tiny amount just above or slightly behind where your first blush ends, working towards your temples. Use a clean section of your sponge or brush to blend this second shade seamlessly into the first, creating that beautiful gradient transition. Think of it as painting a sunset on your cheeks.
Step 4: Diffuse the Edges
Once you’ve got your initial blend, take a clean, damp section of your sponge (or even just your fingertips) and lightly tap along the very edges of your blush application. This ensures there are no harsh lines, only a soft, ethereal halo of color. This is crucial for that "I woke up like this" vibe.
Step 5: Optional, Add Highlighter
For an extra touch of glow, apply a liquid or cream highlighter to the very tops of your cheekbones, just above your blush. Blend it gently, allowing it to seamlessly marry with the blush, enhancing that radiant, gradient effect.
Step 6: Set It and Forget It
A few spritzes of a good setting spray will not only lock your masterpiece in place but also help all the layers of product, foundation, blush, highlighter, to truly meld together into a natural-looking finish. It takes away any powdery look and gives that dewy, fresh appearance.
Common Mistakes to Avoid
- Applying too much product: Seriously, start with less than you think you need. These formulas are pigmented.
- Not blending immediately: Liquid and cream blushes can set quickly, making them harder to diffuse. Work on one cheek at a time if you need to.
- Rubbing instead of tapping: Rubbing can lift your base makeup and create streaks. Tapping is your friend.
- Using a dry sponge: A dry sponge will absorb more product and can create a patchier finish. Always dampen it!
- Forgetting to diffuse the edges: This is what separates a pretty blush from a truly seamless, watercolor effect.
Expert Tips for a Flawless Gradient
- Layering is Key: For more intensity, build up the color in sheer layers rather than applying a large amount all at once. This maintains transparency.
- Warm it Up: If using a cream blush from a pot or stick, warm a small amount on the back of your hand before applying. This makes it more emollient and easier to blend.
- Consider Your Face Shape: For rounder faces, apply blush slightly higher on the cheekbones, sweeping upwards. For longer faces, keep the blush more centered on the apples to add width.
- Blend with Foundation Brush: If you feel you've applied too much or need extra blending, take the brush you used for your foundation (with any residual product) and lightly tap over the edges of your blush. This helps to marry the colors even further.
- Mix Your Own Shades: Don't be afraid to mix a tiny drop of two liquid blushes on the back of your hand to create your perfect gradient colors or a custom hue.
- The "C" Shape: For a lifted look, aim to blend your blush in a soft "C" shape from the apple of your cheek up towards your temple, just under the tail of your brow.
- Check in Natural Light: Always step back and check your work in natural light. What looks good in your vanity mirror might be too much (or too little!) outside.
- Hydration First: Ensure your skin is well-hydrated before applying any makeup. This creates a smooth canvas for seamless blending, especially with liquid products.
Variations for Different Skin Types and Occasions
The beauty of the watercolor gradient is its adaptability. For drier skin types, cream and liquid blushes are a dream, they add luminosity and avoid settling into fine lines. Oily skin types might prefer a liquid tint that stains the skin more, followed by a light dusting of translucent powder only on the T-zone to control shine without dulling the blush.
For a casual daytime look in 2026, a single sheer wash of a peachy or soft rose blush with a subtle gradient is perfect. Heading out for an evening event? Amp up the intensity by adding an extra layer of blush and pairing it with a more pronounced liquid highlighter for a truly glamorous glow. You could even experiment with a more dramatic two-tone gradient, perhaps a soft mauve blending into a deep berry, to complement a smoky eye.
Longevity is surprisingly good with this technique. Because the product is melted into the skin, it often wears beautifully throughout the day. A good setting spray will be your best friend here, especially if you have longer days or are dancing the night away. Touch-ups, if needed, are best done with a tiny dab of the original liquid blush, blended out with a fingertip.
So, why stick to the same old swipe of powder when you can paint a masterpiece? The watercolor blush with a gradient effect is more than just a trend; it's a technique that elevates your entire look, giving you that coveted, effortlessly radiant glow. It’s about creating art on your face, not just applying makeup. What’s stopping you from trying it?
Frequently Asked Questions About Watercolor Gradient Blush
Q: Can I achieve this look with powder blush?
A: While you can certainly create a gradient with powder blushes, it's much harder to get that true "watercolor" sheer, melt-into-the-skin effect. Powder tends to sit more on top of the skin, whereas liquids and creams really fuse with your complexion for a more natural, diffused finish. For the best results, stick with liquid or cream formulas.
Q: How do I choose the right blush colors for a gradient?
A: For a natural gradient, choose two shades that are in the same color family but vary in depth, for example, a light peach and a slightly deeper coral, or a soft pink and a richer rose. You want them to blend seamlessly rather than creating a stark contrast. Complementary colors can also work for a more artistic look, but stick to close tones for everyday wear.
Q: My blush always looks patchy. What am I doing wrong?
A: Patchiness often comes from applying too much product at once, not blending quickly enough before it sets, or applying over a very dry or uneven skin texture. Ensure your skin is hydrated, start with a tiny amount of product, and blend immediately with a damp sponge or stippling brush using light tapping motions.
Q: How can I make my watercolor blush last all day?
A: Proper skin prep (hydrated skin!), building in sheer layers, and finishing with a good setting spray are your best bets for longevity. Some liquid blush formulas also offer better staying power than others; look for "long-wearing" descriptions. Avoid touching your face excessively throughout the day, too!
Q: Can I use my fingers to blend instead of a brush or sponge?
A: Absolutely! Warm fingertips can work beautifully for blending cream blushes, especially for a very natural, diffused look. Just ensure your hands are clean and that you're using light tapping or pressing motions rather than rubbing. A damp sponge or brush often provides a more consistent and airbrushed blend, but fingers are a great option for a quick, effortless application.
Q: Is this technique suitable for all skin tones?
A: Yes, definitely! The beauty of the watercolor effect is its sheerness, which allows your natural skin tone to peek through. The key is to choose blush shades that complement your specific complexion. Deeper skin tones can play with richer berry, terracotta, or even deep plum shades, while lighter skin tones might prefer soft pinks and peaches.
Q: What if I accidentally apply too much blush?
A: Don't panic! If you've applied too much, take your damp beauty sponge (the one you used for your foundation, ideally with a tiny bit of residual product) and gently tap it over the areas where the blush is too intense. This will help lift some of the color and blend it out without completely removing your makeup. You can also lightly tap a clean, dry fluffy brush over the area to diffuse it further.


